Getting Started
Prerequisites
Getting your development environment:Before you start developing your plugin, make sure you have access to a Torii account where you can test and deploy your plugin. If you don’t have one already, send us an email to
[email protected]with the subject: “Torii account for plugin development” and introduce yourself (or your company) and your use case.
Continue reading to learn about the plugin development process, or skip to the“Hello World Plugin” section to build your first plugin.
The 4 Steps of the Plugin Development Process
Plugin development is a structured process that involves several key steps to ensure the successful creation, implementation, and testing of a plugin. The following four steps outline the comprehensive Plugin Development Process:
-
Plan
We recommend taking the time to plan your plugin before you start building it.
Ask yourself questions such as:
- Are you looking to pull data from Torii into your systems? If so, go over the API reference to ensure access to the data is available.
- Are you looking to push data from your service into Torii? If so, define which data and go over the API reference to ensure that updating the data in Torii is supported.
- Are you interested in displaying this data using one of our widgets? If so, what type of widget should you choose and what data would you like to display?
The answers to these questions will impact the way you build your plugin.
-
Build
Building a plugin consists of 2 parts:
- Plugin functionality: Implement a server to handle install/uninstall events.
- Plugin definition: Create a zip package continaing all plugin configuration and deploy to Torii.
Plugin Functionality
To enable Torii to communicate with your plugin, you should set up a server and expose a single endpoint for Torii to interact with. Your server must be able to accept requests from the internet, as Torii cannot send requests to your local network (i.e.
localhost). This endpoint will be called with the relevant data whenever your plugin is installed or uninstalled.When you set up your
manifest.jsonfile, set the URL of your endpoint as thecallbackUrl's value.Visit the Operating a Plugin page to learn more about operating a plugin
Plugin Definition
A plugin is a ZIP folder that contains the following 4 files:
plugin.zip
|-- manifest.json -- mandatory
|-- README.md -- mandatory
|-- logo_40x40.png -- optional
|-- logo_253x148.png -- optional
First, create the manifest for the plugin. This is a JSON file, it is mandatory, and it serves as the configuration file of your plugin. Visit the Manifest page to learn more about the manifest.
Next, you need to create a readme file. The readme file is a Markdown (
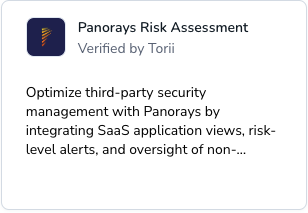
.md), it is mandatory, and it serves as the plugin’s description. This file must be namedREADME.md.We use it to build the short description displayed within the plugin’s tile (we extract the first sentence, i.e. until the first
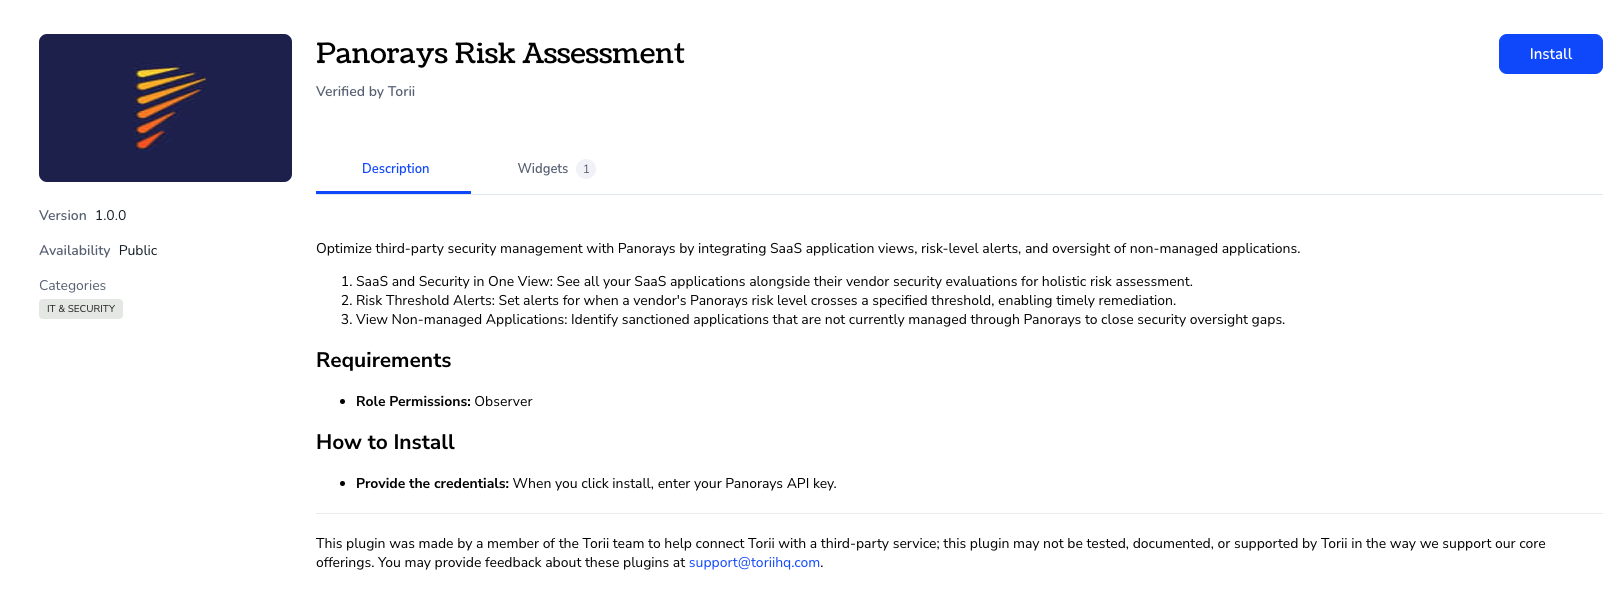
.character), and the long description displayed within the plugin’s page.Last but not least, let’s create the logos for the plugin.
If logos are not provided, a default logo will be displayed - that is the first two letters of the plugin’s name.Although the logos are optional, we recommend providing them as they give your plugin a shiny look. Logos are expected to be in a
PNGformat, and you can either provide both logos or none:- A square logo named
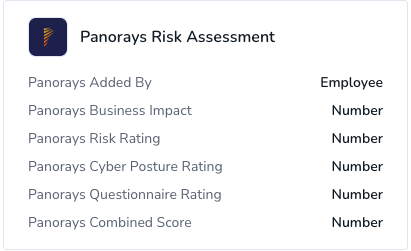
logo_40x40.png- as the name implies, this is a 40x40 square logo. It will be displayed on your plugin’s tile within the marketplace and on your plugin’s widgets (if there are any).
- A rectangle logo named
logo_253x148.png- as the name implies, this is a 253x148 rectangle logo. It will be displayed on your plugin’s page.
-
Deploy
Deploying a plugin requires a Torii API key. If you’ve reached this step and still don’t have a development environment, it is time to get one.To generate an API key, follow this guide: https://support.toriihq.com/hc/en-us/articles/5201866360219-Torii-API-
The deployment process consists of 2 parts:
- Creating the plugin
- Uploading the first version
You can use your favorite tool/framework to make the necessary API requests, or you can use our API explorer: https://developers.toriihq.com/reference
Creating the plugin
Use the Create plugin API to create your plugin. Provide your API key and plugin’s name and hit the
Try itbutton. In return, you’ll receive your plugin’s initial information. The plugin’s UUID is required in the subsequent API requests, make sure to store it somewhere.Although your plugin was created, it will not show up on the Marketplace until you upload the first version.Uploading the first version
Before deploying your newly created plugin to our Marketplace, make sure to compress all of the files you created above into a ZIP folder. Then:
- Upload your
.zipfolder to Torii:
Use the Upload file API - It returns a unique file identifier. - Update your plugin with the latest version:
Use the Update plugin API. Provide the unique file ID returned in the previous step.
-
Test
Once your plugin has successfully deployed, you’ll see it on the Plugins page. You can review it and verify it matches your expectations.
Updated 23 days ago
What’s Next
Now that you're familiar with the development process, we will focus on the Manifest page, used to define your plugin.