Stripe - Custom Integration Example
Using Google Sheets
This guide will provide the steps to sync the member report downloaded from the Settings --> Team & Security page into Torii and have the license usage displayed via the Licenses view in Torii.
A Google Sheet template with AppScript code is provided at this link.
Step 1 - Export the data from Stripe
- Navigate to the Settings --> Team and Security page in Stripe and click the 'Export' button to download the CSV file which will contain the user list.
Step 2 - Customize the Google Sheet example for your environment
- Make a copy of the provided google sheet so you gain full access.
- Copy the exported data from Stripe into the Google Sheet Example you made a copy of in Step 2.1 .
- Review the AppScript code that can be accessed from the Extensions --> AppScript top menu item.
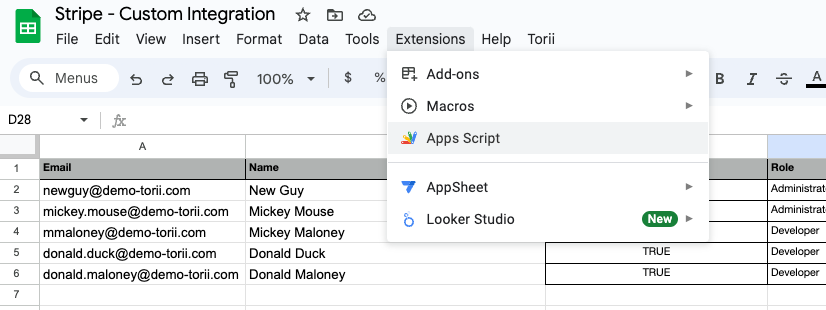
- The Google AppScript code for the Stripe example is provided below. This code includes requests to calls you can test in the API Explorer with the Custom Integration Quickstart guide.
The code supplied in the different samples do not need to be modified. Instead, each sample will prompt for the API key and App ID specific to your environment when run.
For more detailed documentation of the code within different examples, visit theRecipes section of the site.
function onOpen() {
let ui = SpreadsheetApp.getUi();
ui.createMenu('Torii')
.addItem('Sync now','syncNow')
.addItem('Reconfigure','readConfig')
.addToUi();
}
function syncNow(){
//readConfig();
let docProperties = PropertiesService.getDocumentProperties();
API_KEY = docProperties.getProperty('api_key');
APP_ID = docProperties.getProperty('app_id');
if (!API_KEY || !APP_ID) {
readConfig();
docProperties = PropertiesService.getDocumentProperties();
API_KEY = docProperties.getProperty('api_key');
APP_ID = docProperties.getProperty('app_id');
}
let file = createJsonFile();
let fileId = uploadFile(file);
syncIntegration(fileId);
}
function readConfig() {
/*
let = sheet = SpreadsheetApp.getActive().getSheetByName("Configuration");
API_KEY = sheet.getRange('B1').getValue();
APP_ID = sheet.getRange('B2').getValue();
Logger.log(API_KEY);
Logger.log(APP_ID);
*/
let ui = SpreadsheetApp.getUi();
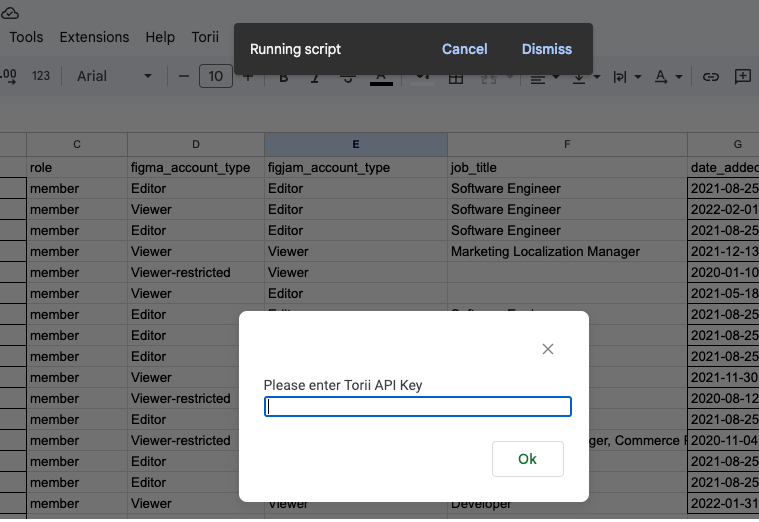
let result = ui.prompt("Please enter Torii API Key");
API_KEY = result.getResponseText();
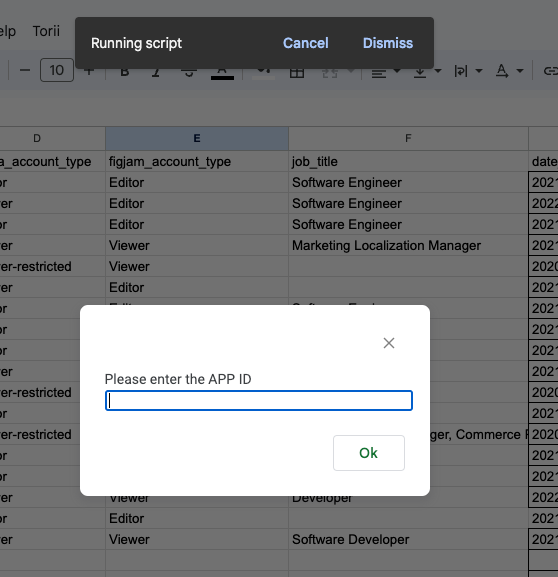
result = ui.prompt("Please enter the APP ID");
APP_ID = result.getResponseText();
let docProperties = PropertiesService.getDocumentProperties();
docProperties.setProperty('api_key', API_KEY);
docProperties.setProperty('app_id', APP_ID);
}
function createJsonFile() {
let = sheet = SpreadsheetApp.getActive().getSheetByName("Users");
let data = sheet.getDataRange().getValues();
Logger.log(SpreadsheetApp.getActiveSheet().getName());
Logger.log(data);
data.shift();
let users = [];
let licensedUsers = [];
data.forEach(function (row) {
let id = row[0];
let fullName = row[1]
let firstName = fullName.split(' ').slice(0, -1).join(' ');
let lastName = fullName.split(' ').slice(-1).join(' ');
let email = row[0];
let type = row[3];
let status = row[2].toString();
let lastUsedDate = Utilities.formatDate(new Date(row[5]), "UTC", 'YYYY-MM-dd');
let licenseType = "Stripe";
users.push(
{
email: email,
firstName: firstName,
lastName: lastName,
status: 'active',
externalStatus: status,
roles: [type],
lastUsedDate: lastUsedDate
}
);
if (licenseType == "Stripe"){
licensedUsers.push(
{
email: email,
licenseStatus: "active"
}
);
}
});
let file = {
users: users,
licenses: [{
name: "Stripe",
pricePerUser: 0,
unassignedAmount: 0,
users: licensedUsers
}
]
}
Logger.log(file);
return file;
}
function syncIntegration(fileId) {
response = UrlFetchApp.fetch('https://api.toriihq.com/v1.0/services/sync/custom',
{
muteHttpExceptions: false,
'method' : 'put',
'contentType': 'application/json',
'payload' : JSON.stringify({
idFile: fileId,
idAppAccount: APP_ID
}),
headers: {
'Authorization': `Bearer ${API_KEY}`
}
}
);
Logger.log(response);
}
function uploadFile(file) {
let response = UrlFetchApp.fetch('https://api.toriihq.com/v1.0/files/url?name=my_file.json&type=customIntegrationData',
{
headers: { 'Authorization': `Bearer ${API_KEY}` }
});
let jsonResponse = JSON.parse(response);
let s3url = jsonResponse.uploadFileParameters.url;
let filePath = jsonResponse.uploadFileParameters.filePath;
Logger.log(s3url);
Logger.log(filePath);
response = UrlFetchApp.fetch(s3url,
{
'method' : 'put',
'contentType': 'customIntegrationData',
'payload' : JSON.stringify(file)
}
);
// Get file id
response = UrlFetchApp.fetch('https://api.toriihq.com/v1.0/files',
{
method: 'post',
contentType: 'application/json',
headers: { 'Authorization': `Bearer ${API_KEY}` },
payload: JSON.stringify({
path: filePath,
type: 'customIntegrationData'
}),
headers: {
'Authorization': `Bearer ${API_KEY}`
}
});
jsonResponse = JSON.parse(response);
let fileId = jsonResponse.id;
Logger.log(fileId);
return fileId;
};Step 3 - Create the API Key and Custom Integration in your Torii console
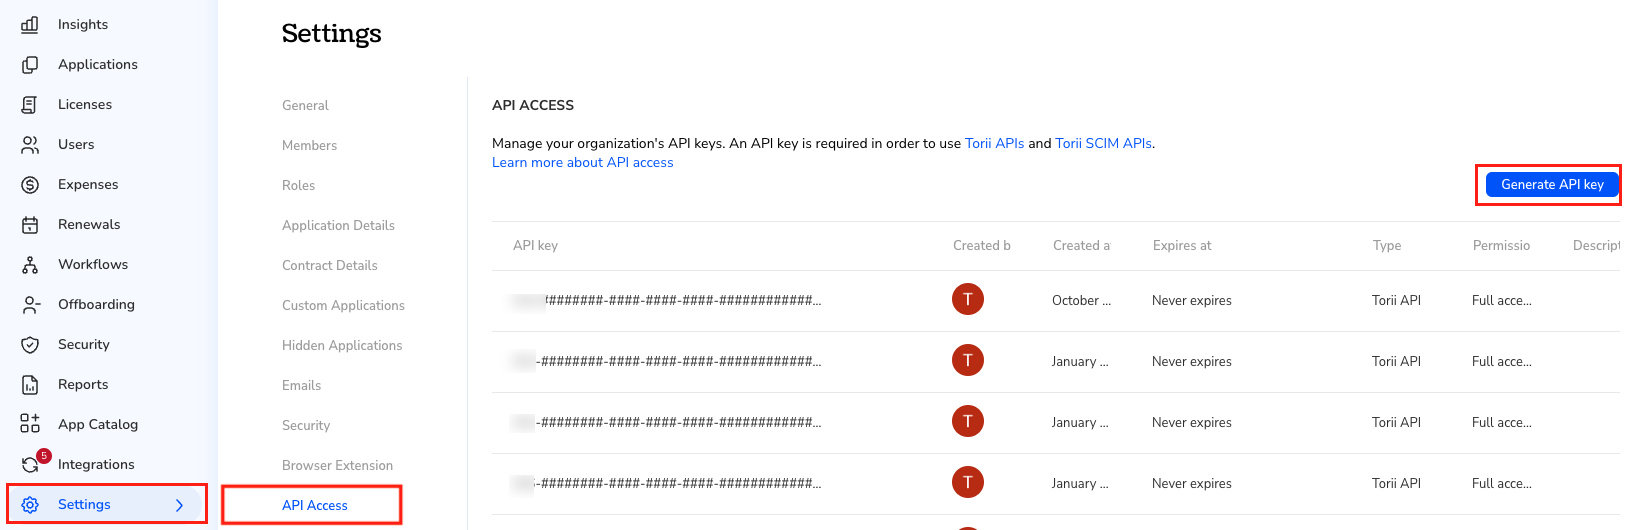
- Create an API key from the Settings tab in the API Access submenu item.
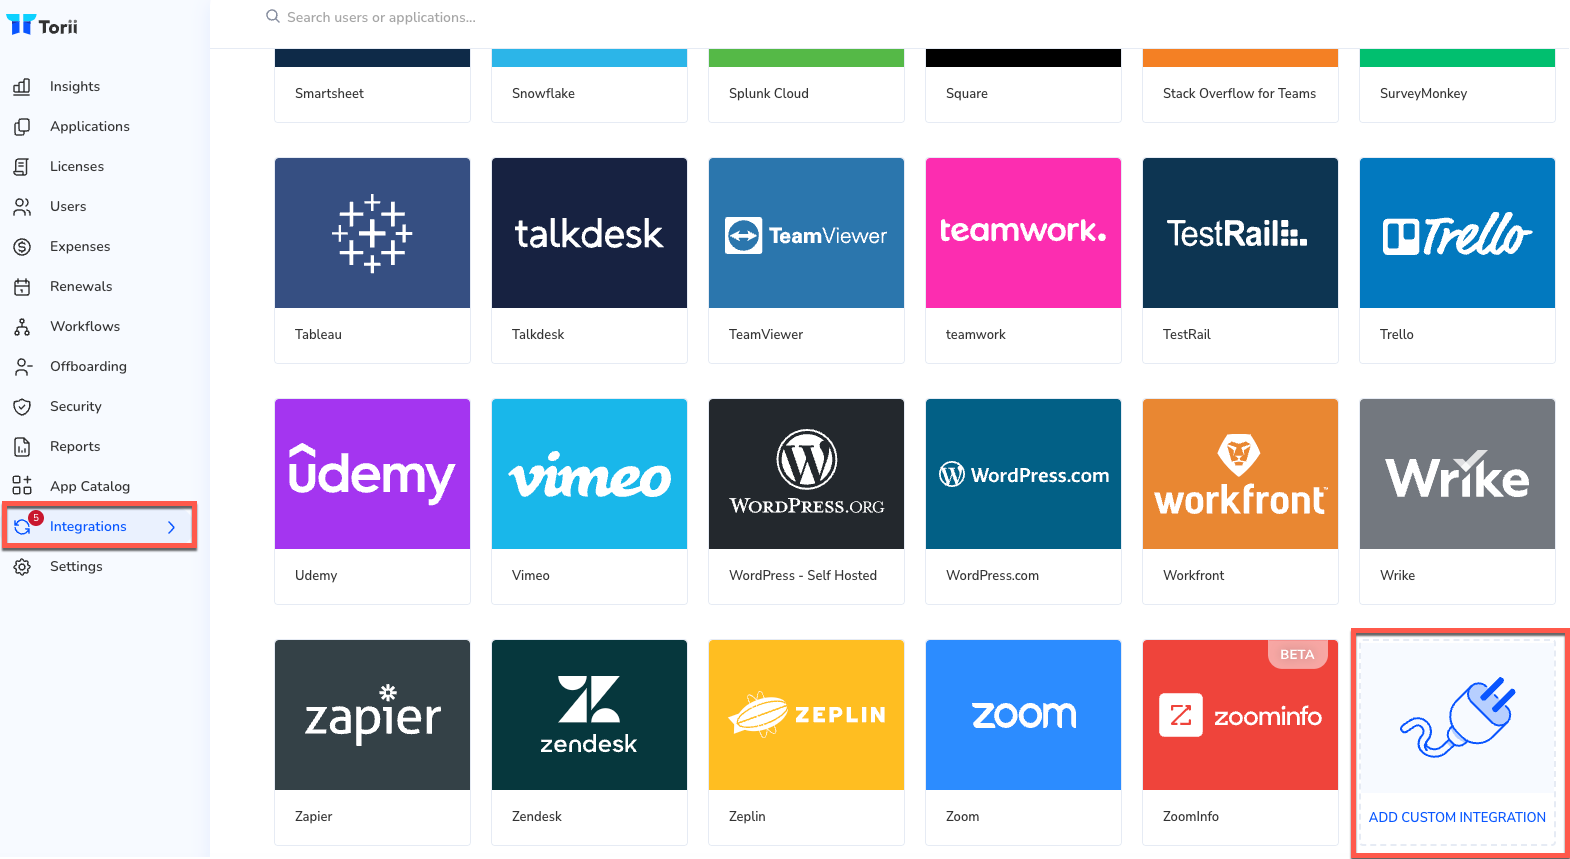
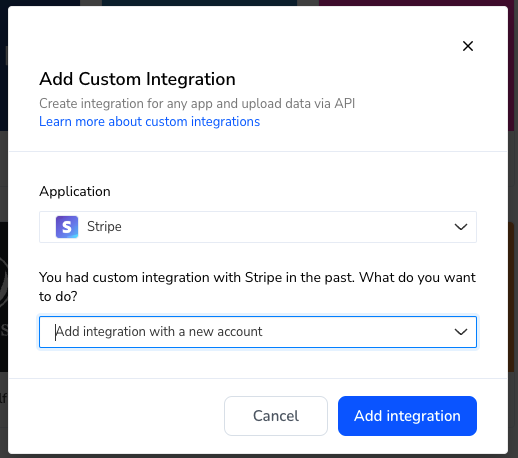
- Create a custom integration in the Integrations tab and map it to the app you are creating the integration for.
Warning: Make sure to copy the App Account ID value that is returned as you will need it when you sync the data from the Google Sheet.
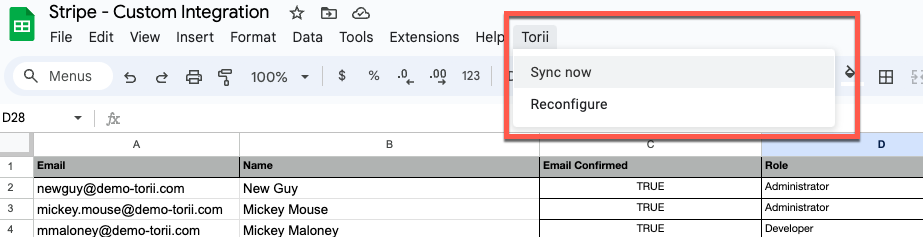
Step 4 - Sync the integration from the Google Sheet
- Using the Torii --> Sync Now menu option, run the AppScript to sync the data from the spreadsheet into Torii. This will execute the code, format the data, and push said data to the Torii database. The script will prompt you for both the API key and the App Account ID.
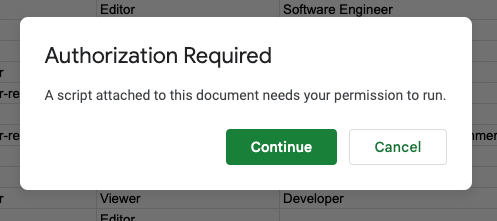
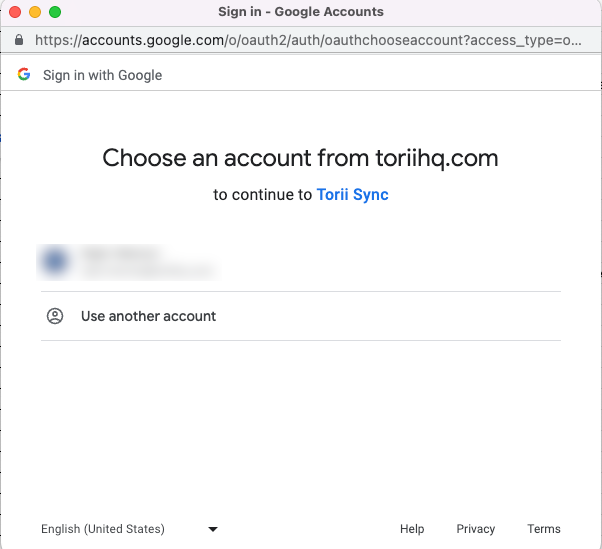
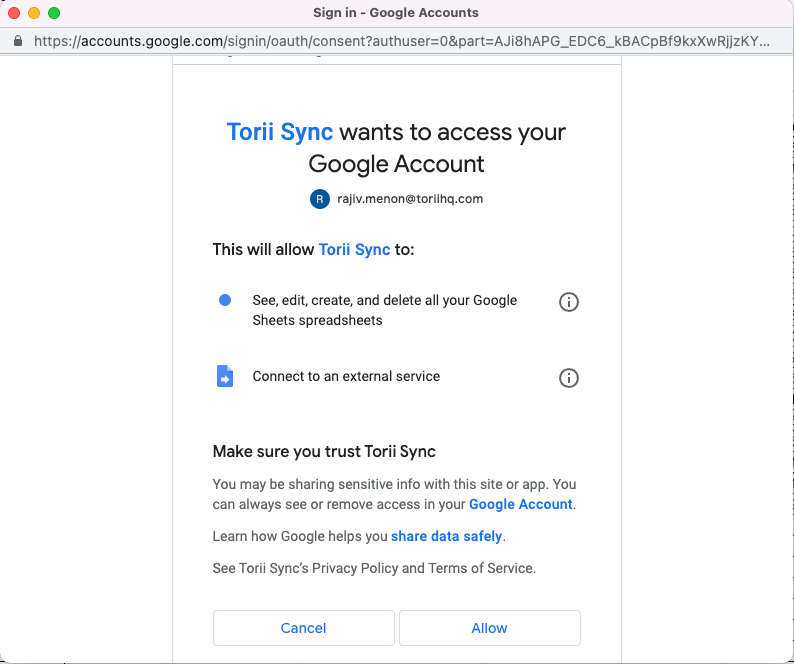
- The first run of the script in your environment will request authorization. Use your account or a service account in your environment to grant access to the necessary scopes.
- Once you've completed the authorization, you will have to select the Torii --> Sync Now menu item again. The script will prompt you for the API Key and App Account ID.
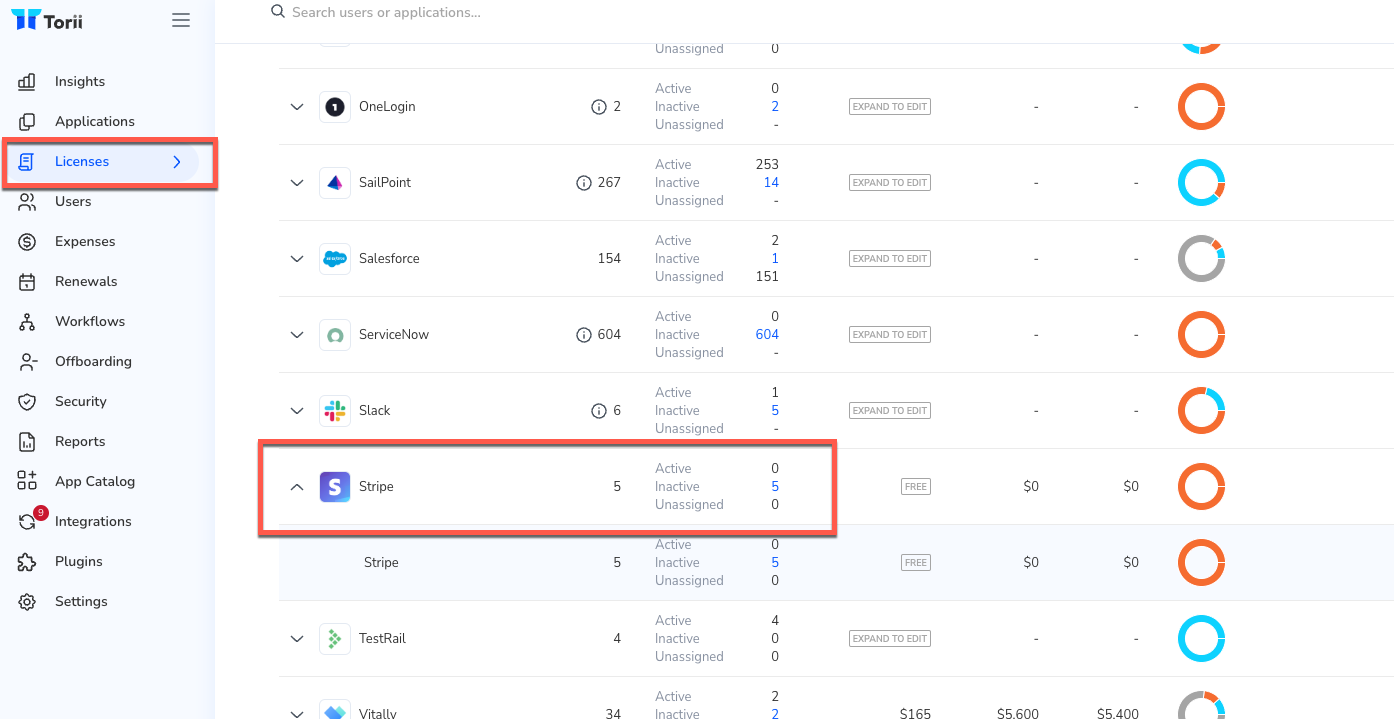
Step 5 - Confirm the custom integration synced successfully via the Torii console
- From the Integrations tab, check that the custom integration tile has a green checkmark.

- Check that the data passed in through the integration has been processed by the platform and is available in the Licenses view.
Updated 10 months ago
Did this page help you?